Showing posts with label SU Stamps-Hello Doily. Show all posts

Friday, December 27, 2013

Family's Christmas Gifts ~ Part 2

Part 2 of 3 of the Christmas gifts I made this year for the family.

I made 9 of these note card holders and card sets for family and friends this year.  The idea came from my up-line Kathy who always has such AWESOME projects for us!  I made a few changes, and sent them to family members and some friends I reconnected with this year.


These wall letters also came from Kathy during our Stamp Camp in early October this year.    They are customized for each family.

This W went to my cousin and his wife in Texas.  

This W is for my Aunt and Uncle.

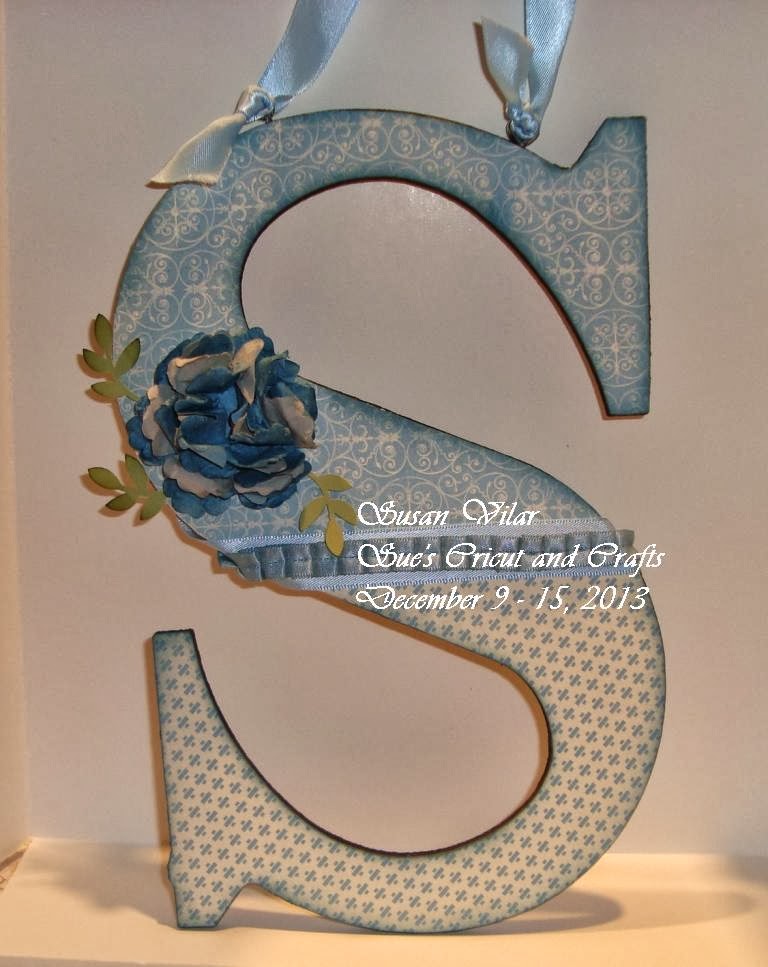
This S is for another Aunt and Uncle.

This G is for my nephew and his wife.  He was pretty puzzled why I asked about the colors in their house.  Guess he figured out why now. :)


This G is for my sister and her husband.  They have a log home, and I know the colors will work GREAT in their place.

This is for my nephew.  He's single, so no flowers for him!  :)


 photo enjoybermudabay.jpg

Sunday, July 14, 2013

Christmas in July 14 Sparkle, Sparkle, Sparkle!


How many, you ask?  85 rhinestones!  Yes, 85.  Before I placed the ornament, I turned it upside down, and made a pen mark on the back of each stone as I counted.  85 rhinestones, in 4 different sizes.

I saw a version of this card, and all I could say was, "Wow!!"


I made many changes from the original...  I used the Hello, Doily stamp and embossed it in white on the vellum, Basic Gray ink to stamp the holly and ivy on the backing cardstock.  Cherry Cobbler ribbon, and my Stampin' Up markers.  The ornament was cut in vellum, and covered with rhinestones of different sizes to fill in all the spaces starting from the center.


The markers stayed wet on the vellum for the holly and ivy so I sprinkled on some clear embossing powder, heat set them, and used a lighter green on the back of the ivy to help with color depth.

I included two pictures of this card so you could see the "bling"  (I really don't like that word.) from both sides.  It's really very sparkly in the light! 


We are almost to the middle of July!  I hope you're enjoying my Christmas in July celebration!


Monday, May 13, 2013

2013 - 2015 Stampin' Up In-Colors

This is always an exciting time of the year!  We get the previews for the new In-Colors coming to Stampin' Up for the next 2 year period.

Sometimes I feel there are misses, or the colors just don't appeal to me.

This year is different.... even though I thought I wouldn't like one of the colors, seeing it in person and playing with it a little, I really LIKE it!  AND it's a shade of green which makes it even more ironic. :)

SO HERE are the new Stampin' Up In Colors for the next 2 year period.


 Have to just say, I LOVE  the Strawberry Slush!  It's a little unusual, but I have a Strawberry themed kitchen, and it's incredibly hard to find strawberry things.  :)  This color is perfect!

 This is the one I thought I wouldn't like - and actually, Pistachio Pudding is a much brighter green, but working with it, I like it a lot. :)


REALLY like the Coastal Cabana....  a GREAT tropical color!


SO I hope you've enjoyed my preview on the new In-Colors!  They will be available for purchase on May 31st.  You can click on the Stampin' Up logo on the top right corner, and go to Shop Now to order these, the papers, reinkers, and all kinds of great stamps!


Saturday, May 11, 2013

Stampin' Up's Color Refresh, 2013! 10 Colors Retired, 10 Colors Inspired!

So I'll admit, I wrote the title of the post because it rhymed.... some of the colors I do NOT think are inspired, but it sounded good. :)

Some of the new colors in this refresh I do like....  Bermuda Bay, Island Indigo (it's a good teal color) and I do really like the new Smoky Slate color.  That's really the only NEW color.


This is the flier we received showing the color families, which colors were being retired, and the new colors coming in as permanent family members. 

 Here's a sample of ALL the 10 new Refreshed colors... stamped with 2 stamps.  I used the Distressed Dots (soon retiring) and the Hello Doily stamp which is one of my very favorites.  On each picture, I also wrote the name of the new color.

Have I said before how much I  LOVE LOVE LOVE the new ink pads???  The might need reinking sooner than the previous pads did, but they give excellent ink coverage!  LOVE LOVE LOVE them!!

Click on a picture to see a larger version.  Below are all former in-colors.


Here is the newest color:  Introducing Smoky Slate.  It is the only NEW color in the Color Refresh
.

Next post - the 2013 - 2015 In colors!


Sunday, October 2, 2011

Stampin' Up Club Cards August and September 2011

We made 3 cards on our August Stampin' Up Club Night!!!

This card uses two types of embossing - the swirls are from the Texturz Plates, and the other is the oval Designer Frames. This comes in a pack of two with a rectangular frame as well as the oval.
We used lots of techniques! Stamping (of course), embossing, tearing, inking, punching! It's a lovely card in person.


This card uses a color I'm not so thrilled with generally - River Rock - though the more I use it... I think it's growing on me! The background piece was a very interesting technique using our E clear block!! WTG, Kathy! It looks AMAZING!!


Hello, Doily! I loved this stamp from the moment I saw it... and even more every time I use it. It's heat embossed along with the sentiment in white. The trick?? Layers of powder! Don't just apply the powder once - keep pouring it on 3 or 4 times to get really good coverage.


Here we have our September cards. LOVE all the colors on this card!!! So fall-ish! I'm sad that the Build-a-Brad has retired... I really LIKE those!


This card again uses the Texturz plates to add the detail on the blue piece. This card was so much fun to make!! You'll recognize that I used the technique on one of the music cards (below). Stamp the background - clear emboss the piece (here, a leaf) and then use the sponge daubers to ink the piece with 2 colors. It's really amazing!!


Your comments are always appreciated!
~*~ ~*~ ~*~ *~ ~*~ ~*~ ~*~ ~*~ ~*~ ~*~ ~*~ ~*~ ~*~ ~*~ ~*~
A Proud member of The Lime Light. Click on over to see what we are doing.