Showing posts with label SU Stamps-Everything Eleanor. Show all posts

Friday, June 12, 2015

CASE'D Card

Pinterest is an amazing resource!  AMAZING!

I see so many things I want to make - food, cards, crafts, school ideas for my classroom.... the list is endless!  Yes, really endless.  I have almost 2,000 pins on 115 boards.  I kept hearing about it from friends, and didn't get on it until I knew I'd have some time - and WOW!  just like the internet, anything you can think of is there!

This is a card I saw, and wanted to play around with it.

The background is the swirl from Everything Eleanor, and the flowers are stamped in Perfect Plum, and Coastal Cabana.

Glue dots for placement and some rhinestones.... voila!  A quick, cute card.  I can't decide which sentiment to put on the front yet.  Something will present itself eventually.


 photo enjoybermudabay.jpg

Monday, May 25, 2015

Principal's Appreciation


This is a few of a set of 10 cards I presented to our Principal and Assistant Principal from my team.  We decided to have each of the kids make a card for Mrs. S. and Mrs. M.  It was wonderful to receive them when I was out with an injury earlier this year.  One from each kid with their thoughts.  So nice to read!
 The cards pictured here are in addition to the colors I made for Mom.  I reproduced them in sets of 2 so each of these wonderful ladies received a complete set of 10 using all of the "best" colors!  :)
 The colors I added here to the set I presented are:  at the top - Pumpkin Pie, directly above is Coastal Cabana
 Looking at this blue - I couldn't place it!  After looking,  it's Tempting Turquoise!  Whew!  I forgot!
 This is absolutely my favorite color - for so many reasons.  My favorite spring flowers - Lilacs... my favorite Scentsy wax 'flavor', my favorite color..... Lovely Lilac.  I added it with the 2 other purples in the set.

Here is the storage box they received the note cards in.  I used a tutorial online using the envelope punch board to make it.  It uses a belly band to keep it completely together.


 photo enjoybermudabay.jpg

Friday, May 22, 2015

Card Refills for Mom Part 2

I'm continuing my quick and easy card stamping series.  The cards go together pretty quickly, and even faster in wonderful company.
 My two dear friends come over most Saturday afternoons for stamping, snacks, and girl talk.  It makes the time go so quickly, and we generally get quite a bit accomplished.
 Here's a continuation of the note cards I worked on for Mom, with the Stippled Blossoms a few days ago, and now these splats.
 My other favorite stamp set of late is Gorgeous Grunge.  I'm thrilled to say it is NOT retiring with the new catalog release!
 So HOW did I make all these cards so quickly?  You won't believe it!
 Mount the large splat on your block, ink it up quite well, and stamp 3 times WITHOUT reinking down the left/center of the notecard overlapping the stamp a little.  Then, take the envelope and with a freshly inked stamp, stamp it 4 times! 
 How easy is that!  Just 3 quick steps remaining.  Use the large swirl from the Everything Eleanor stamp set, ink it up well with Memento Tuxedo Black ink, and stamp it over your 3 graduated images.
 Stamp a sentiment in matching ink with the splats.
Punch 3 flowers in matching cardstock, and mount with glue dots.  Place a pearl in the center of each flower, and voila!  You've got a very impressive set of notecards!
You'll recognize the colors as my usual color palette.
From the top left:  Blackberry Bliss, Perfect Plum, Pacific Point, Soft Sky, Daffodil Delight, Blushing Bride, Melon Mambo, and of course, Bermuda Bay!


 photo enjoybermudabay.jpg

Tuesday, December 24, 2013

Family's Christmas Gifts - Part 1

Notepads!

Notepads don't really sound like that big of a deal, but when you need to write a list, remember something, or get a phone number (if you don't have your phone with you) they can actually be pretty handy.

This past year I attended the Dallas Stampin' Up Regional Conference.  It was GREAT - and one of the projects we made was this notepad.  I knew these would make great gifts!!!  I've personalized each one.

 This one is another Duct tape creation - the original one!  My friend Dee is CRAZY for OSU, and this is what I came up with for her.  It has lots of little touches - punches, glitter pen, a paper flower, etc.

 This owl is for my friend Melissa.  I finally broke down and bought the punch after borrowing hers and making this owl for her.  It was terrible of me to borrow her punch to make her gift, but no one else I know has it, and I had a good laugh to myself until I got to tell her the story!  LOL  :D  I don't like the owl stamps, but this punch makes some really ADORABLE owls, or bats, or whatever!!!


My cousin married a young lady with quite a musical gift!  This piano notepad is for her.  I used Bermuda Bay to break up the black and white.  No one in the family could tell me her favorite color, so I had to just choose one and go with it.


I put together 7 of these notepads in about an hour.  The hardest think was finding green paper to match the darker logo!  I'm going to have to look harder to find a better match.
The logo is again Duct Tape! :D  I'm having way too much fun with that stuff!  I bought football brads at the Scrapbook show this past August thinking I was going to use them on the calendars, but they never made it to the final design, and ended up working perfectly on these!

It's really hard coming up with ideas for the men in the family - note card sets?  That doesn't work.  Flowery cards?  Nope!  That doesn't work either!  BUT I have a feeling these Packer notepads are going to be just fine!  :)

Please enjoy!  More pictures coming with the rest of the notepads I made.


Thursday, July 19, 2012

Triple Time Stamping with Measurement How-To

I found this technique searching around online, and wanted to really play with it.  I already posted the two Christmas Cards I made using the Triple Time Stamping, and now the "regular" cards using two different stamp sets.

You could use almost any stamp set using this technique... your imagination is your limitation!!

This card, I used the Stippled Blossoms Stampin' Up set.  It's a Two-Step Stamping, and I've recently decided to buy these from now on in the wood so I can make a permanent Stamp-a-ma-jig template saving lots of time and hopefully, frustration!


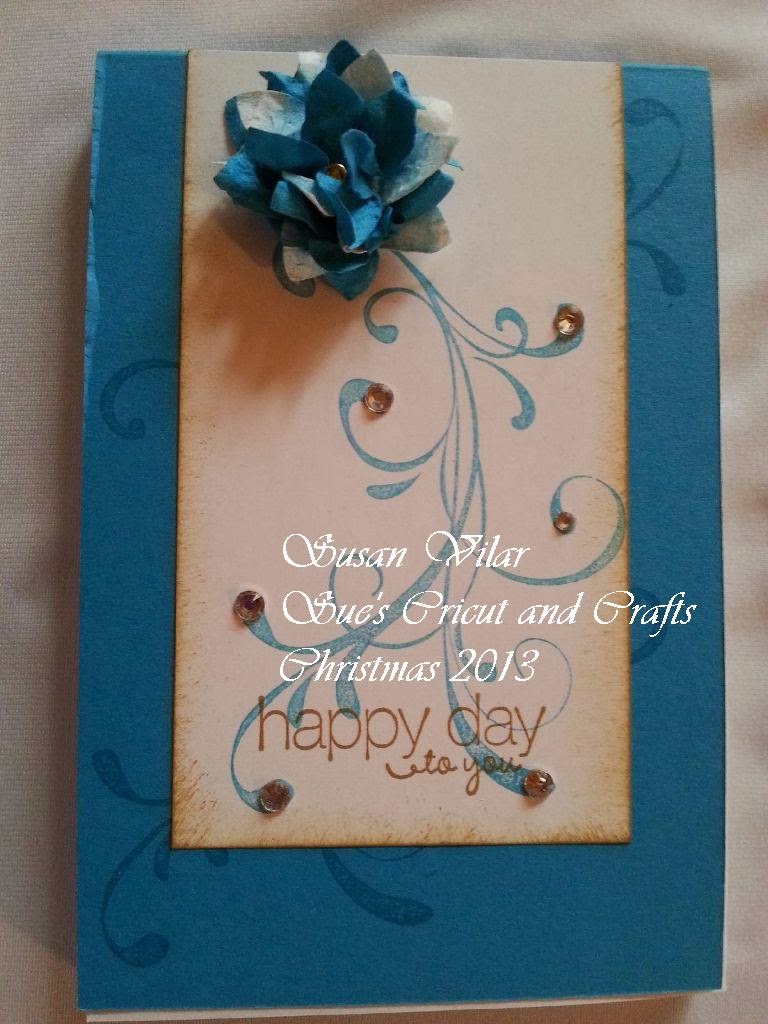
 This card uses the Everything Eleanor stamp set I've recently started to appreciate (Thanks, Kathy!!).

 So....  HOW is this technique done??  Here it is - you won't believe how easy it is!!

First, cut your base card from 8 1/2 x 11" cardstock and fold to make 5 1/2 x 4 1/4 card.

These are the measurements for the mats:

5 1/2 x 4 1/4 - card base
4 1/2 x 3 1/4
3 1/2 x 2 1/4

Now, your white/vanilla, etc cardstock for stamping:  This actually uses only 1/2 of a sheet.
5 1/4 x 4  (turn sideways after this cut to get the rest)
4 1/4 x 3
3 1/4 x 2
**Cut the 4", 3", and 2" pieces first, then cut to length.

Line up the white/vanilla cardstock, and use a repositionable/temporary adhesive while you do your stamping.

After you are finished with the stamping, put the layers together, adhere, add ribbon and other embellishments, and you have a very pretty, quite impressive card!


Your comments are always appreciated!
 ~*~ ~*~ ~*~ *~ ~*~ ~*~ ~*~ ~*~ ~*~ ~*~ ~*~ ~*~ ~*~ ~*~ ~*~
A Proud member of The Lime Light. Click on over to see what we are doing.