I looked a long time at the Happily Ever After and Dreams Come True carts before I made any of the cuts – they looked so good, but also really complicated! Yes, the cartridge handbook has a detailed explanation of the cuts – but I’ve learned over time that some people can read directions (like me) and some people aren’t so good at that – they have to see it, or hear the directions (like my Mom). I’m also including pics with this explanation so you have a good set of visuals.
When I got the courage up, I jumped right in and learned a few things about cutting Disney characters - order matters! I make lots of cards for a project on the Cricut Message Board called Cards for Soldiers, so I’ve cut LOTS of these characters.
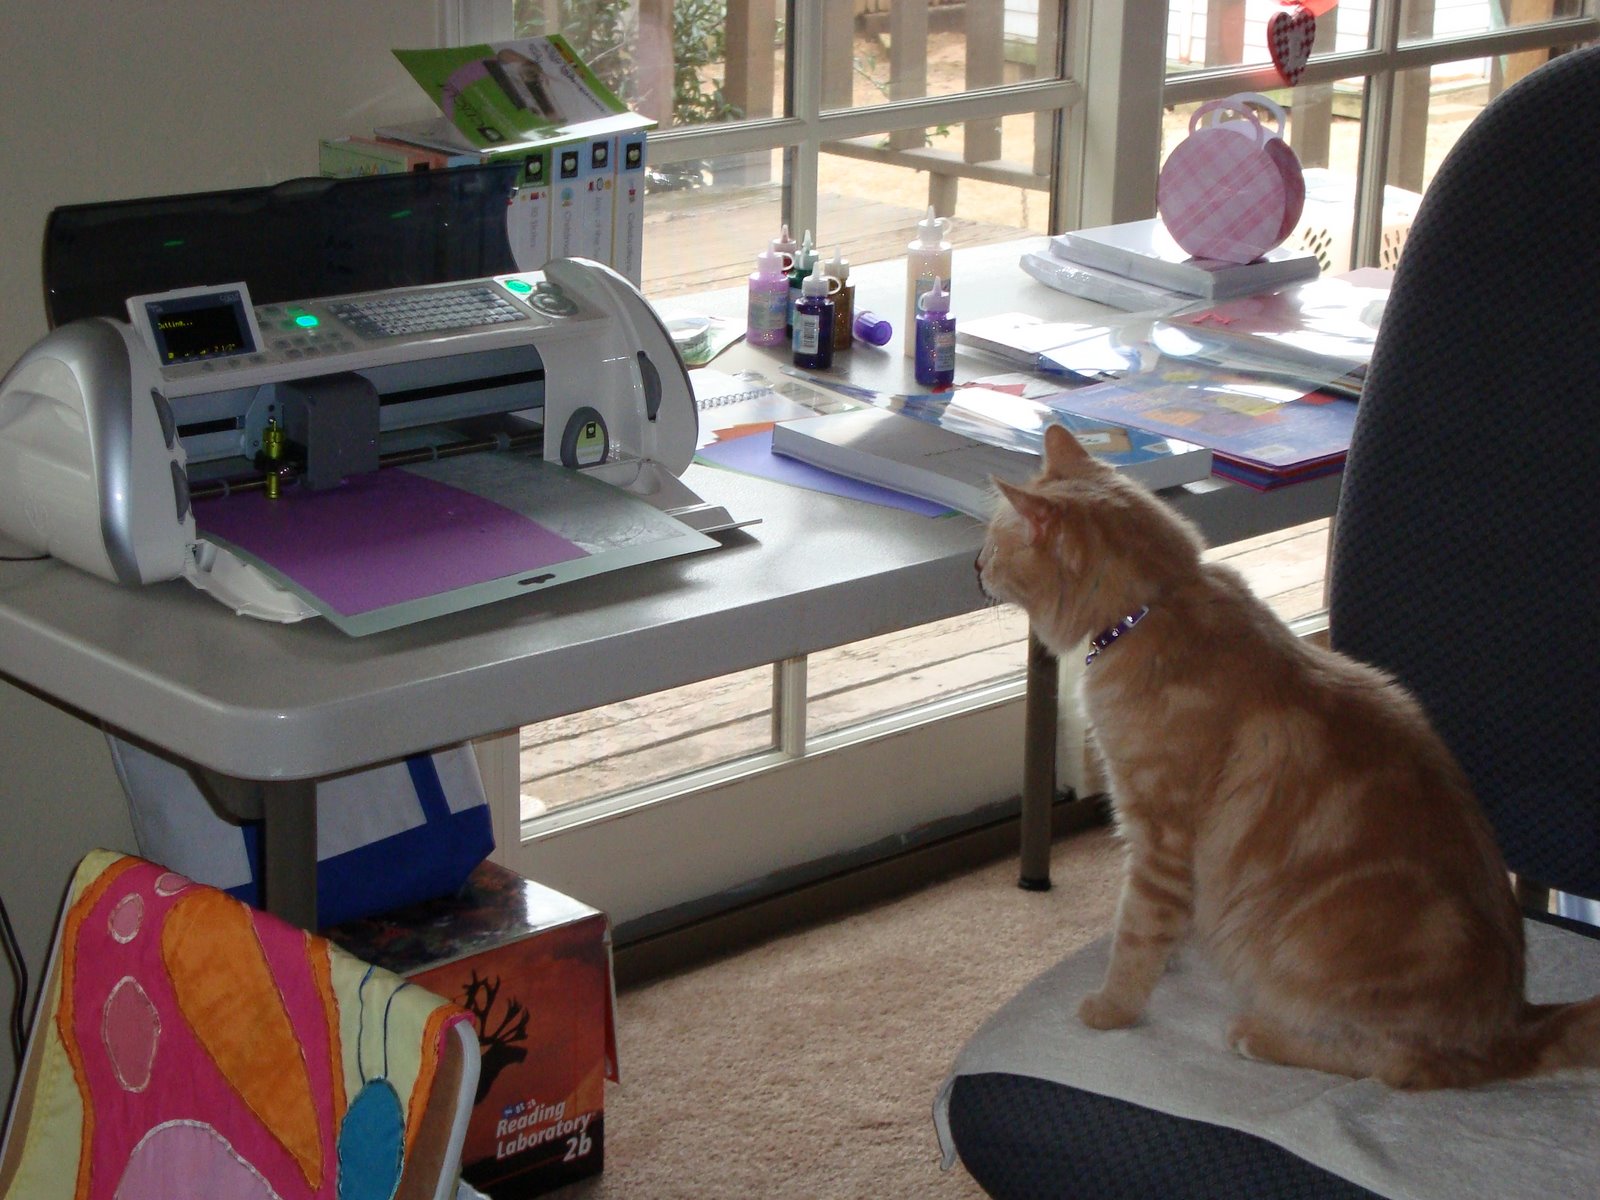
First, if you’re cutting a lot of one shape, set up an assembly line so you can glue the pieces while the next set are cutting on your bug. For example, if you’re cutting Ariel – cut the shadow and set it aside.
Cut out the base piece, the cut with the guide lines to show you where to glue the other color cuts. Then cut out the hair (I also cut the lips from the same red) and glue it down to the base while you are cutting the flesh tones.
Glue down the flesh cuts while cutting the white layer. Cut the eyes while gluing the white layer. You will layer the blue iris over the whites of the eyes.
Finally, cut the outfit layer and glue down. When you have your Ariel (or other princess) finished – glue down the shadow.
I know it doesn’t really seem like you need it, but it does make a difference having that extra black border around the character.
Ariel’s shadow - I always cut these first, and set them aside so when I’m finally finished with all the color layers, I can finish them in a snap and glue the shadow without waiting for it to cut.

Ariel’s base cut with the hair and lips - if you look closely, you can see the guide lines to show where to place your cut pieces.

Ariel’s flesh tone layer -

Ariel’s white layer – there’s usually more white on the Disney characters, but her white layer are only the whites of her eyes. Isn’t she looking better!


Ariel’s white layer – there’s usually more white on the Disney characters, but her white layer are only the whites of her eyes. Isn’t she looking better!

Notice the difference with the shadow when it’s glued on the back! 
Next time – how to use your computer to see all those eensy, weensy, teeny, tiny, little pieces - without getting a headache!

Next time – how to use your computer to see all those eensy, weensy, teeny, tiny, little pieces - without getting a headache!
Until next time,
Susan Vilar
~*~ ~*~ ~*~ *~ ~*~ ~*~ ~*~ ~*~ ~*~ ~*~ ~*~ ~*~ ~*~ ~*~ ~*~
A Proud member of The Lime Light. Click on over to see what we are doing.


5 comments:
How do I get the base with the outlines? I have a personal cricut cutter. I keep getting only the shadow an don't understand how to get the base with the little guideline cut outs. Please help!
Dear Anonymous,
Since I have no way to contact you again, I do hope you will read this.
Please send your contact info. in another comment post. I won't post it, but do need it to respond to you.
THANKS!
Susan Vilar
I love it. I'm trying to figure out how to make all my pieces the right size. I'm using the cricut craft room on my pc to connect to my expression. Any advice?
Thanks!
Dear Christina,
DON'T say that!!! You are just learning, and I went through that as well as everyone else with the Cricut. It's a learning curve. That's why I was asked to write the 3 articles I did about the Cricut.
OK, here goes. 1. The base cut is the first cut you get when you push the button on the 'pad' without any of the features. You'll get your outlined piece that way.
2. Sizing? That's an easy one. Choose one size, and keep that same size for EVERY cut on each of the feature areas.
I tend to cut all my pieces 4 inches, so I cut the shadow, the base piece, and all the layers at the 4 inch setting. *** Do NOT have your real-size button on. Also, use the paper-saver. That will help in the long run so you're not wasting paper.
So sorry, I do not use the craft room or my computer with my Cricut... I use it as a stand alone.
Post a Comment