Showing posts with label Card-in-a-Box. Show all posts

Friday, June 17, 2016

New Catalog (2016-2017) Event Samples 10

Over the past 2 years or so I've made MANY Card-in-a-Box(s)...  many many many!  I love them.  They are relatively easy once you have the dimensions for cutting and scoring.  The engineering is not terribly difficult, it just takes a little know-how.  I'll have a tip for you at the end of this post.

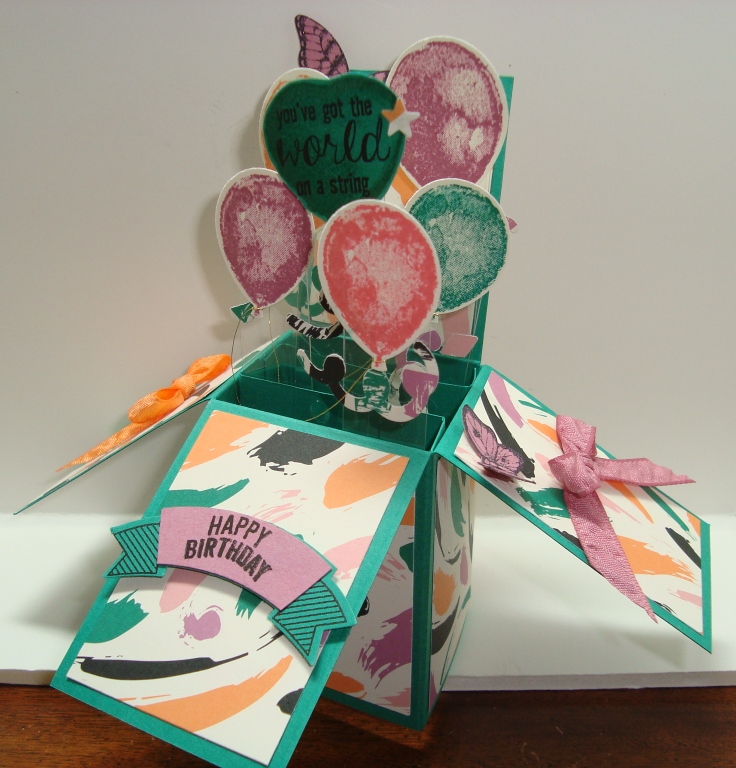
Even though this is the 10th post of Event Samples, This is one of the first pieces I made.  I am not very happy with the Happy Birthday banner on the front, and I'll change that.  I WILL change it. :)

 This is the project where I came up with the idea for using the Sprinkles punch pieces as balloon strings. :)  Maybe one of my later samples will have some on a card....

The awesome thing about these Cards in Boxes is that they fold up into a regular A2 envelope.

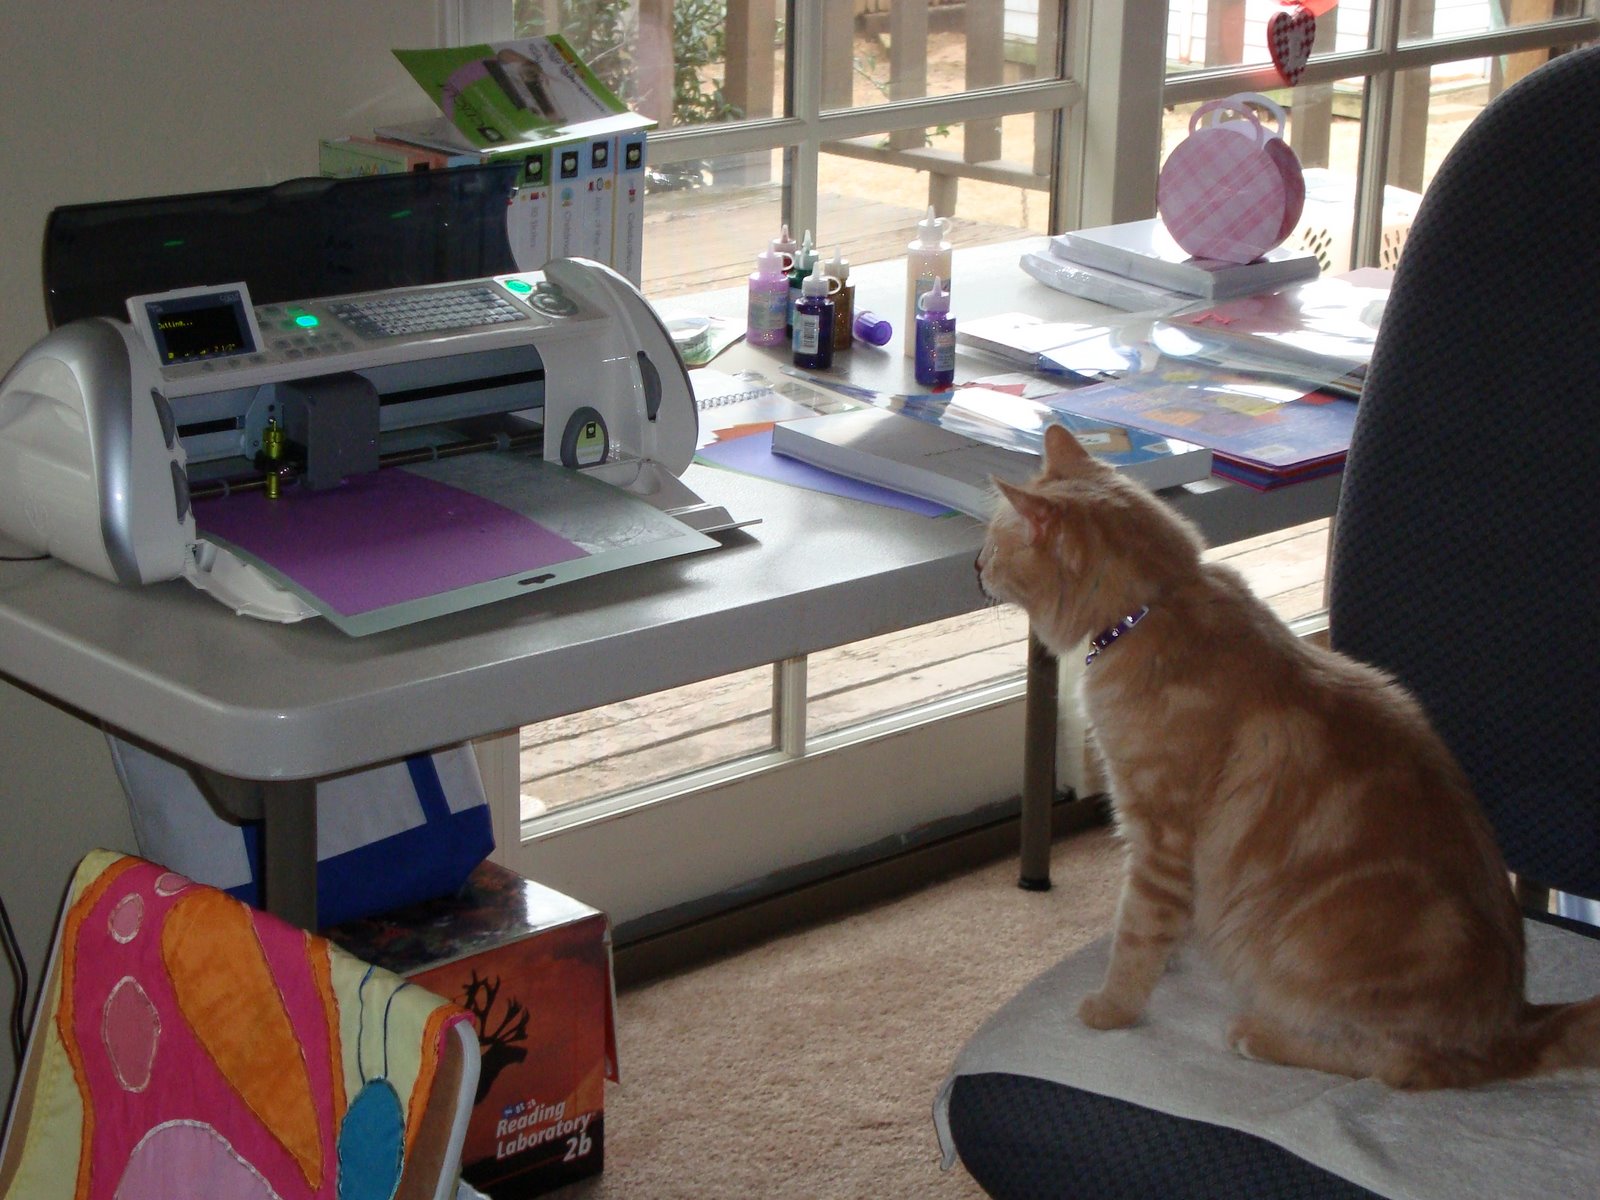
TIP:  I keep a 3-subject 5 Star notebook.  In the folders, I keep typed up directions I receive, or things I've printed online.
On the pages, I keep diagrams, drawings, directions, and plans for projects.
It's a great resource.

HERE is a link to a written and pictorial tutorial on a Card-in-a-Box...  the directions are great, and this one is closest to what you see above.
What I did was take these directions, and write them for myself in my 5 Star Craft notes so all I need is my notebook, and I don't have to search around online when I want to make one, or five, or twelve! :)

The products I used:

Tuesday, May 31, 2016

I am TOTALLY Taking Credit for this Discovery!

I have been very busy the last 2 weeks making samples for our New Catalog Event on June 18th.  It's 3 demonstrators and we're previewing the new colors, showing samples of old and new stamp sets, 6 Make-and-Takes, image stamping, door prizes...  it's going to be SPECTACULAR!

I worked on a Card in a Box, and here I'm previewing just a piece to show you a Sprinkles punch idea.

I punched out some pieces of DSP, and they seemed really perfect to work as balloon strings!

SO, that's my brilliant idea.  Use one or two of the Sprinkles punch pieces as balloon strings!  You could even cascade them to make really long curly strings.

Thursday, November 13, 2014

Baby Card in a Box

My aunt and uncle were coming to visit one night on their way to visit my cousin (review the baby shower invitations)...

I'd seen lots of examples of the "new" stamp set Something for Baby, and wanted to make a card I could send along with them instead of sending it in the mail.  I also sent along some things my husband and I got from our local Babies R Us store.  We don't have children, but I LOVE going there!  So much fun just filling the cart with baby stuff you know the new baby and mommy and daddy will need!
 When I got this stamp set, I took a picture of the stack-able toy when we saw it at WM so I'd have a color reference, and I'm glad I did!    Instead of stamping the onsie and duckie, I just used some patterned paper and the die to cut out the shapes.
 
 I love the look of layered punches!  For the front piece, I layered 4!  From back to front, you have the Decorative Label, the Artisan Label, the Modern Label, and 'bundle of boy' is stamped and cut with the Word Window punch.  Whew! 

 Two of the other stamps come from the stamp set "Bundled Baby".  I water-colored and hand-cut those to add as accents.
I love the bear image at the right panel - it's one of the retired Build-a-Bear stamps I use on baby cards.  He's also water-colored.

The main cardstock color I used is Pacific Point from Stampin' Up.  The patterned paper is from a DCWV stack called All Boy.


 photo enjoybermudabay.jpg

Sunday, July 13, 2014

Christmas in July - July 13, 2014


It's a Card in a Box!  I really love these, and actually forgot how much!

I have two dear friends that come and craft with me on weekends, but now that we're on summer vacation, it actually works better to meet up during the week.  We sit around for the afternoon and make cards or other projects we have going on.  I usually make a snack or food for lunch - because I like to try out new recipes I find on Pinterest, or that I see on Food Network - and they are my best sounding board if they are keepers or not.

SO, that being said, one of my friends brought her sister along to join us!  It was really great to meet Michelle, and I along with the other girls helped her make her first Card in a Box!  After going through all the directions, I decided to make a Christmas version.

Here it is.
 I'm still using the Be of Good Cheer paper, and broke out the Jolly Bingo Bits stamp set and my stickles.

Here I again used the 3 layer punches for the sentiment, but in addition to the Artisan Label, and word window, I added the 1 1/4 scallop circle punch.

These are really so much fun to make!  I couldn't find my transparency sheets, but the red seemed to work just fine.  The best part about these - they fit in a regular A2 envelope!!


 photo enjoybermudabay.jpg

Sunday, April 13, 2014

Mother's Day Card-in-a-Box

I am very fortunate to have a few people at my work that make requests of me, either card-making, craft-making, or baking.

This is part 2 of an order I received for a Mother's Day Card-in-a-Box. 

 The base card stock is Crisp Cantaloupe, with paper from a DCWV stack for the blue, and glitter blue mat pieces.

The tulips are colored with a blender pen -  Daffodil Delight with Crushed Curry accents; Bashful Blue with Marina Mist accents, and Crisp Cantaloupe with Coral accents.  The butterflies use the same colors, in marker.

Click HERE to watch a video on how to make these AWESOME boxes that fit into a regular A2 envelope!  SHABAM!  That just cracks me up!  So funny.


 photo enjoybermudabay.jpg

Wednesday, March 12, 2014

Card in a Box - Balloons

After playing around with the Card in a Box technique, I decided to make one with my very favorite tropical colors.

Daffodil Delight, Melon Mambo, Lovely Lilac (ret.), Peach Parfait (ret.) and Tempting Turquoise.

I found this combination while playing a game on Facebook, and thought how amazing they would look together.  After playing with them for quite awhile, I used this combination on an August calendar, and lots of other projects.

 I used window sheets and glue dots to make the balloons 'fly'.  The butterflies and sentiment all use the same colors.


I just couldn't resist a picture of this butterfly, using all the colors listed above.  After I've stamped, colored, punched, and added rhinestones, I like to add Diamond Stickles to give the butterflies extra sparkle!
 photo enjoybermudabay.jpg


Monday, March 10, 2014

Card in a Box 2

The base for this card, is Crisp Cantaloupe - seemed perfect for a spring-y bouquet of tulips!

My parents went on a trip to Europe a few years ago, and mom had MANY bulbs sent back from Holland.  They visited a very well-known tulip market.  When they arrived she had them planted in 2 areas of the yard.  When they bloomed - it was an explosion of color!  Every spring she has a huge bloom of the tulips around the yard.

After using this stamp a few times, I thought it would be perfect for the Card in a Box technique!


 All the tulips are colored with the blender pen - Pear Pizzazz and Wild Wasabi for the leaves, and Crisp Cantaloupe, Calypso Coral, Daffodil Delight, Crushed Curry, Bashful Blue, and Marina Mist for the Tulips.   I also used the same colors in marker for each of the butterflies.
 There isn't a die cut for the tulips, so they are each hand-cut.  It didn't seem to take very long at all to cut each of the flowers... I made this on a Saturday crafting day when my friends were over, so the cutting went along with great conversation!

Here you can see one of the ways to fold up the card to place in a regularly sized envelope.  I love how the flowers look when it's folded too!
I've started using a 4 1/4 by 5 1/2 inch piece of cardstock to cover the card and protect the embellishments during mailing.  It seems to work, and the envelope isn't torn as badly - especially with brads, or rhinestones.

 photo enjoybermudabay.jpg

Friday, March 7, 2014

Card in a Box with a link to a Tutorial

I do so love learning new crafting techniques!

One of the girls from my card club brings samples she makes in other groups.  We lit upon this Card in a Box she made.  

I've seen them before, but as you know, in person it's always more stunning!

HERE is the tutorial I watched to get measurements, and tips on making these gems.  Have paper and pencil ready so you can write down your own instructions.  Doing this helps me immensely!  I can remember watching the video while I reread my written directions.

One very AMAZING thing with these cards - they fold up to fit into a regular A2 envelope! 


 I (again) used my DSP Gingham Garden - I really love that paper!  It's so versatile, and the bright colors are usually what I favor in my crafting.
 Main colors:  Pear Pizzazz card base, Daffodil Delight, Melon Mambo, and Island Indigo.  I used the same colors on the larger butterflies - coloring them with markers, rhinestone bodies (as always) and then some Diamond Stickles to make them glitter.
 The larger flower centers are PK Glitz embossing glitter on regular brads...  Burgundy, Azure, and Honey.  The smaller flowers have rhinestone centers.
 Love that butterfly stamp and punch combination! 


 photo enjoybermudabay.jpg