Monday, August 15, 2011

WAY WAY TOO CUTE!!!!!!!

I just had to post this! It's way too cute!
**Can't understand a word they're saying, but who needs words when there's kitties???
Enjoy!!


Your comments are always appreciated!~*~ ~*~ ~*~ *~ ~*~ ~*~ ~*~ ~*~ ~*~ ~*~ ~*~ ~*~ ~*~ ~*~ ~*~A Proud member of The Lime Light. Click on over to see what we are doing.

Saturday, August 13, 2011

Same Card.... Tweaked!

This is EXACTLY the same card as the one below from the Holiday Mini Preview post... tweaked!!

What did I add?
1. complimentary colors on the top binding, toe and heel pieces
2. hangar loops
3. a bottom hearth piece
4. black, yellow, and orange stickles
5. names on the stockings!
6. green glitter glaze pen on the green stocking
7. more Close to Cocoa sponging around the edges and on the brick embossing.


Your comments are always appreciated!

~*~ ~*~ ~*~ *~ ~*~ ~*~ ~*~ ~*~ ~*~ ~*~ ~*~ ~*~ ~*~ ~*~ ~*~
A Proud member of The Lime Light. Click on over to see what we are doing.

Christmas Mini Preview!

I would LOVE to say that this was my original idea, but it is not... I can't remember where I saw it... a blog, a website like Splitcoast, etc. Ever since I received this set, I knew a fireplace would be a great backdrop for the stockings!!!

I have just a little more tweaking to do on this card before I'm completely happy with it, but still love how it looks!!! Stickles... names on the stockings... coordinating colors on the heels and toes, etc. This is definitely a work in progress!!


This is the inside view with the sentiment from another stamp set available in the Holiday Mini.


There are so many awesome new Christmas stamp sets available in this new mini... it's going to be GREAT!!


Your comments are always appreciated!

~*~ ~*~ ~*~ *~ ~*~ ~*~ ~*~ ~*~ ~*~ ~*~ ~*~ ~*~ ~*~ ~*~ ~*~
A Proud member of The Lime Light. Click on over to see what we are doing.

Wednesday, August 10, 2011

Color Obsession!!! Oh NO!

So I was playing a game over on Facebook the other day and I kept hitting the bonus round! When it started, to move you into the new window, a screen-like piece closed and opened into the new area. The colors were AMAZING!!! I couldn't believe the bright, beautiful colors! I wrote them down, and stamped the colors from my SU pads as close to match what I saw.

I find myself obsessed with these colors lately! The combination is so pretty... Here they are:
Melon Mambo
Tempting Turquoise
Daffodil Delight
Lovely Lilac (retired)
Peach Parfait

Aren't they an amazing combination of colors??


Here I was playing with them... thought they'd make delicious ice cream treats!


Here's a finished card using the above image.


Here are Baby Wipe Butterflies (check out the Lime Light Design Team link below or on the right) using the same colors.


Your comments are always appreciated!

~*~ ~*~ ~*~ *~ ~*~ ~*~ ~*~ ~*~ ~*~ ~*~ ~*~ ~*~ ~*~ ~*~ ~*~
A Proud member of The Lime Light. Click on over to see what we are doing.

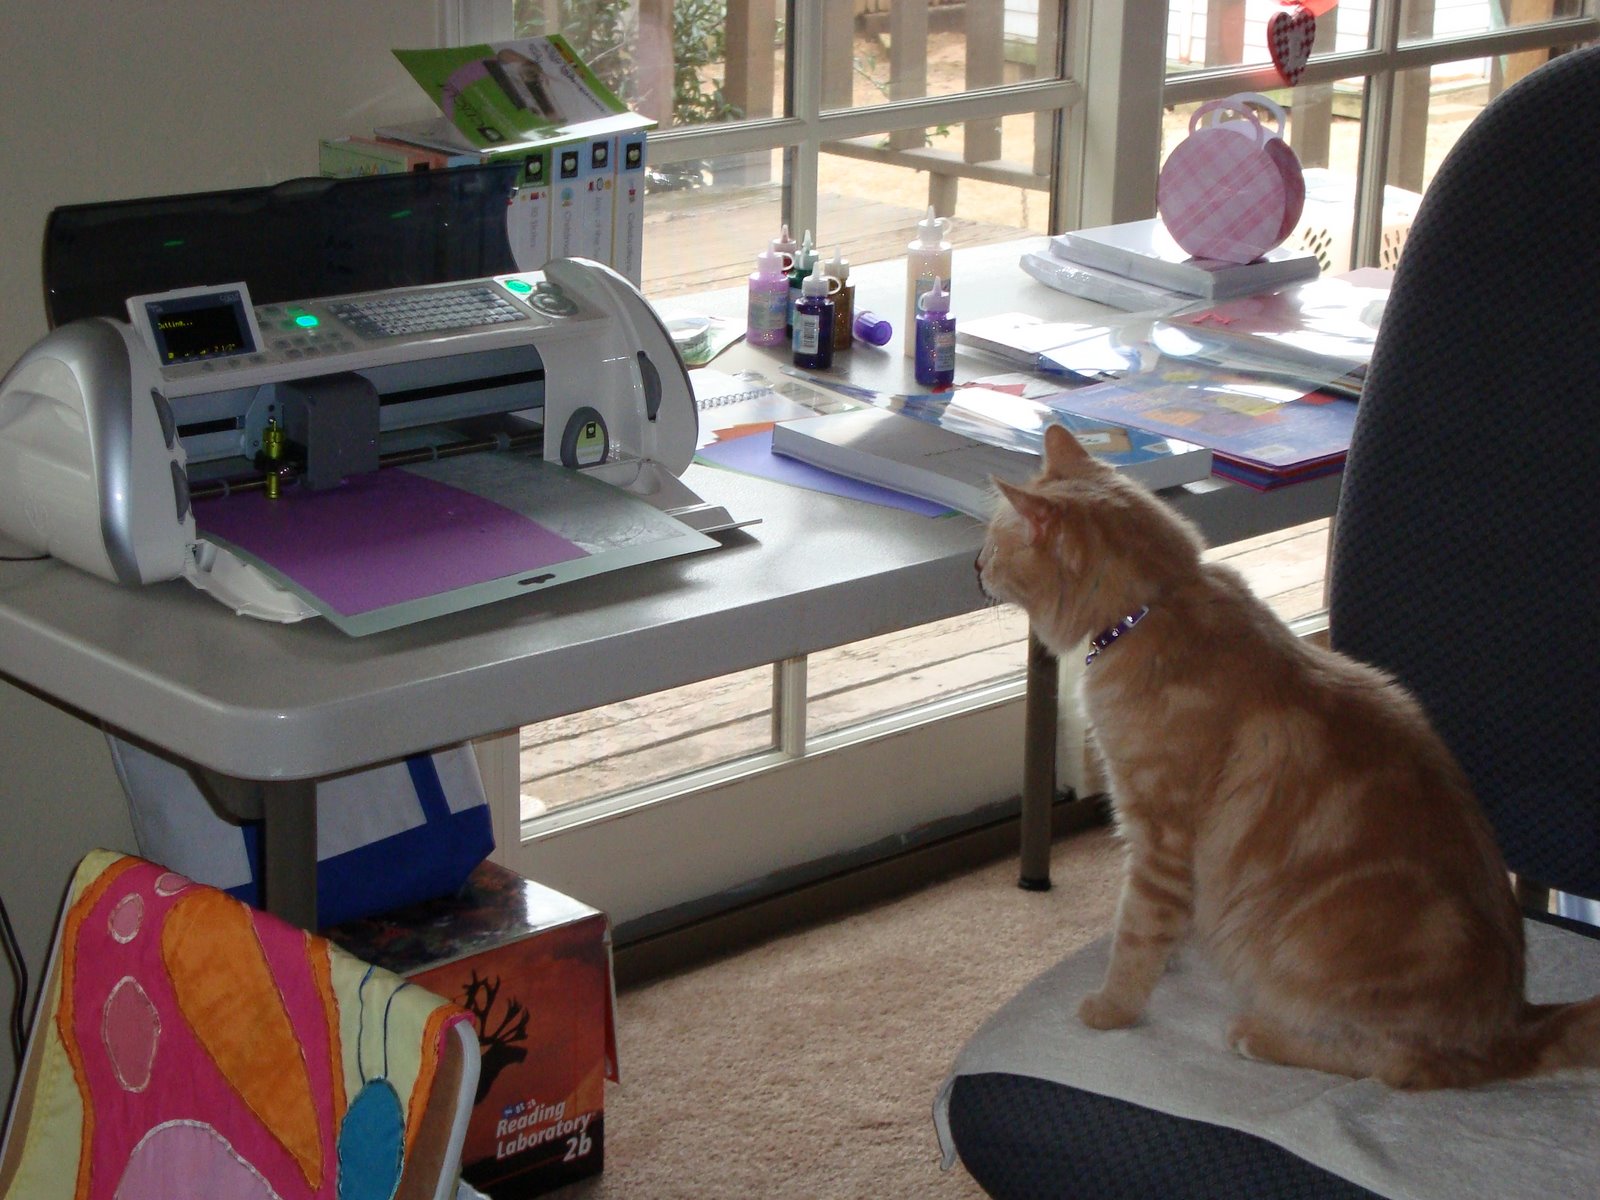
What a Silly Kitty!!

This is Sandy. He's also known as Sandy Panda around the house just because he's so cute...

One evening, I was sitting at the dining room table doing some paperwork, and he just decided he had to join me. He just sat there for about 10 minutes....didn't try to come up on the table at all... I'm pretty sure he was waiting to be served some food. :) LOL

Silly Kitty!!

He's the kitty that disappears when people come over... can't be found anywhere... big chicken!! So since he won't be sociable... he gets his picture here, so you can see my Sandy. :)


Your comments are always appreciated!
~*~ ~*~ ~*~ *~ ~*~ ~*~ ~*~ ~*~ ~*~ ~*~ ~*~ ~*~ ~*~ ~*~ ~*~

A Proud member of The Lime Light. Click on over to see what we are doing.

Monday, July 11, 2011

How FUN are these?? Need for Speed!!

This stamp set is called... Need For Speed!
How FUN are these images! :) We have so many young men in our family, I just had to have this stamp set!

I used a variety of techniques on these images... burnishing, inking, marker, watercolor... and the scallop circle for the clouds. :)
The sky is inked with Bashful Blue in each piece, the 'roads' and water under the speed boats are water-colored, and each vehicle uses the Stampin' Up Markers.
I took shots of the pieces close-up so you could see more clearly. As always, just click on an image to enlarge it.

I am using these for EVERYTHING!!! A Design Team project, Cards for Soldiers, Birthday Cards, Get Well Cards, etc. The possibilities are endless!


Your comments are always appreciated!

~*~ ~*~ ~*~ *~ ~*~ ~*~ ~*~ ~*~ ~*~ ~*~ ~*~ ~*~ ~*~ ~*~ ~*~
A Proud member of The Lime Light. Click on over to see what we are doing.

New Catalog Stamp Camp, June 8, 2011

Here are some of the NEW In-Colors for 2011 - 2012. I featured Island Indigo, Pool Party, and Calypso Coral in my 2 cards for this event. There are two more: Wisteria Wonder, and Lucky Limeade. Also featured are NEW stamp sets, and one that will retire at the end of August.


The Just For You image is from a set called Tagtastic! The ribbon lace border is a frame technique used as a highlight.


This stamp set was the very first one I ordered from the new catalog... Delicate Doilies. It's SO pretty!!! The images look just like tatting to me. The small piece in coral coordinates with the Doily Triple Layer punch.


Here's the inside of the Doily Lace card - It uses the Lattice Die to make the pop-up piece, and the Beautiful Wings Embosslits Die to make the butterflies.


Your comments are always appreciated!

~*~ ~*~ ~*~ *~ ~*~ ~*~ ~*~ ~*~ ~*~ ~*~ ~*~ ~*~ ~*~ ~*~ ~*~
A Proud member of The Lime Light. Click on over to see what we are doing.

Wednesday, June 8, 2011

Birthday Cards and more...

Happy Birthday Mom!!!
Yes, a little late, but I will be seeing her soon, so I told her she had to wait for her cards... but it will be well-worth her waiting!! :)

The inspiration for this card came again from Jeannie Phillips. She's an amazing card designer from Alabama - and had some beautiful card designs on her blog.
All the background papers and cardstock are from Stampin' Up. I do love the Martha Stewart punch that makes grass!! Perfect for a flower pot base. :) The flower cut is from Walk in My Garden.


Stampin' Up has come with some new (AWESOME) punches!!! The center flowers here are from the Triple Blossom Punch. I used Daffodil Delight and Concord Crush for my colors... I do love purple and yellow together!! The ribbon is also 5/8" satin in Daffodil Delight. Rhinestones seemed the perfect addition for the flower centers.


Your comments are always appreciated!

~*~ ~*~ ~*~ *~ ~*~ ~*~ ~*~ ~*~ ~*~ ~*~ ~*~ ~*~ ~*~ ~*~ ~*~
A Proud member of The Lime Light. Click on over to see what we are doing.

Tuesday, May 31, 2011

Father's Day, 2011


Our upline Stampin' Up Demo Kathy had this card for us at our May Stamp Club... it was SO SO CUTE! I was "done" for the night before this optional card came up, so I got the measurements and put some together this week.
When I got home, and looked at Splitcoast, I found the version Kathy used as her inspiration... but felt that it was WAY too busy!! The one Kathy came up with was MUCH better... and I just added the grass from my MS punch.

I know my sister will be thrilled with this when she sees it... she LOVES the heat embossing and the shiny surface it gives! :)

Your comments are always appreciated!

~*~ ~*~ ~*~ *~ ~*~ ~*~ ~*~ ~*~ ~*~ ~*~ ~*~ ~*~ ~*~ ~*~ ~*~
A Proud member of The Lime Light. Click on over to see what we are doing.

Monday, May 30, 2011

Set of Commissioned Cards... Graduation, Thank You's

So what do you do when your nephew is graduating, your husband requests a graduation card, and the school colors are brown and white?? BROWN AND WHITE!!! Who has such colors as school colors!!!!
After some serious thought, this is what I came up with... simple, because it's for our nephew... and in brown and white.
It's a pretty straightforward card, except I used a bookmark tassel I'd purchased for making bookmarks, cut it down, and popped two circles to hold the tassel. I also added two rhinestones to the front for some interest.


here's the inside view of the card.


This is another requested card from our librarian at school. She needed one for someone who was quite artistic. I loved this layered look so much! I used Pacific Point, Black and Vanilla carstock for this card... Pacific Point ink, and the Elements of Style stamp set.


I saw this card on Jeannie Phillips website a LONG time ago... and always loved it!! I needed a card for a horticulturalist, and thought this would be perfect. I used the first cut from the Walk in My Garden Cricut Cart to cut the daisies - making many, many layers. The one daisy in the inside is a little darker yellow cardstock. All pieces are matted and inked with Early Espresso and Black. The leaves are inked in Wild Wasabi and Early Espresso.

I'm not so sure I want to give this one away... it's really something in person!!


Here's the interior view... you can see a little of the flower inside as well as the identical matting from the front. Gotta LOVE the ladybugs crawling on the leaves!


Your comments are always appreciated!

~*~ ~*~ ~*~ *~ ~*~ ~*~ ~*~ ~*~ ~*~ ~*~ ~*~ ~*~ ~*~ ~*~ ~*~
A Proud member of The Lime Light. Click on over to see what we are doing.

Birthday Flowers!!!

These very GORGEOUS flowers came for my birthday from my very favorite Uncle and Aunt!
They were waiting for me at the front door when I came home, and smelled SO SO good! Those two pink roses smelled even better than they looked! The vase is so pretty too!!! Plaid designs of pink, purple, and white! It will get a spot on the dining room table for sure!

The entire bouquet was all shades of purples and pinks! SO pretty!!!!
Thanks, Aunt Nancy and Uncle Paul!


Your comments are always appreciated!

~*~ ~*~ ~*~ *~ ~*~ ~*~ ~*~ ~*~ ~*~ ~*~ ~*~ ~*~ ~*~ ~*~ ~*~
A Proud member of The Lime Light. Click on over to see what we are doing.

Stampin' Up Club Cards April and May 2011

These three cards are from our April Stampin' Up Card Club meeting.

On this first card, we used the seam binding to tie the bow. It's so nice to work with... a very soft material... tie, crumple, etc. The leaves are from the Bird Punch, and we also used the Itty Bitty Punch Pack for the flower centers as well as some teeny tiny pearls. The background comes from the Square Lattice embossing folder, color spritzed with Early Espresso.

The base is the label punch with the 1/2 circle punched out of the top.


This card uses some new DSP, and the beveled windows. It's my fault the window wasn't lined up on the paper correctly... it really looks so pretty! The window really highlights the design beautifully!


Of the set of 3 April cards, I think this one is my very favorite! We used the Vintage Wallpaper embossing folder for the background and inked the edges. Then... one of my favorites... the Top Note Die!!! We cut two - one from crumb cake, and one of our stamped images... we used 3 just for the top piece! 1. the En Francais background stamp, 2. the Medallion stamp, and 3. the bird stamp from the Nature Walk set offered in the Occasions Mini. We also crumpled some seam binding and used one of those very gorgeous brads as an embellishment.


Now you might know that I'm not a big fan of anything green (although that's been changing lately)... but when we made this card this past Monday.... WOW! It's one of my new favorites! I know I'll be reproducing this card very often for lots of occasions!

The stamp set: Vintage Vogue!! Colors: Rich Razzleberry and Always Artichoke! What an amazing color combination! We also stamped the sentiment in Very Vanilla craft ink, and allowed it to dry without embossing. A little accent with Razzleberry satin ribbon, and it's an amazing card!!


This amazing card was a technique I've always wanted to try but either didn't get around to it, was a little hesitant to try. It's an alcohol technique on glossy paper! We used 2 reinkers... a retired blue, and retired purple (Brocade Blue and Lavender Lace). Lightly soak a cotton ball, drop 2 colors of ink, and a little silver shimmer paint... then swirl all over the glossy card stock!
After it dried, we embossed with silver embossing powder, stamped and matted the image... and you've got a really GORGEOUS card!


Your comments are always appreciated!

~*~ ~*~ ~*~ *~ ~*~ ~*~ ~*~ ~*~ ~*~ ~*~ ~*~ ~*~ ~*~ ~*~ ~*~
A Proud member of The Lime Light. Click on over to see what we are doing.

Wednesday, May 11, 2011

Two Commissioned Cards!

I had 2 commissioned cards this week! I find it so exciting! I like working within tight parameters - BUT in the same way getting to be creative at the same time.

First, a birthday card for a lady that gave my mom our absolute FAVORITE Christmas candy recipe... Angel Food! Mom has to make lots every year since 1. she gets lots of requests for it, and 2. if she doesn't she get's yelled at! :) This also makes a wonderful surprise for me in packages during that time of year.

This first card is a combination of lots of techniques. I again used a cased image from the Kitchen Sink Crew - {Thanks, Lynn!!} The roses on the front of this card are Kitchen Sink Stamps. Don't know what they are?? Check 'em out!! They are fantastic stamps! I also used my newest Cuttlebug embossing folder for the background, and 2 cardstock and ink colors... Pretty in Pink for the card base, and Melon Mambo for the frame.


The inside of this card is ALL Stampin' Up! I used my new lattice die to cut the inside 'pop-up' piece... and the Sizzlits die to cut all the butterflies in Daffodil Delight, Melon Mambo, and Lovely Lilac (ret.) I just LOVE the color combination!!! Diamond Stickles added the perfect touch of sparkle!


This second commissioned card is for our school librarian. We had a Will Rogers "impersonator" come talk to the 4th graders this week, and they were very impressed with his knowledge of the man and his life. He really did a fantastic job!!!

I used my Cricut for this card - the Old West cartridge. I bought it about a year ago knowing I'd have need of it at some point, and here was my opportunity. :)

The framed piece is the negative cut from a Stampin' Up die - more to come on the inside!


Here you can see the 'positive' cut from the Stampin' Up die as an area for a personal message. I had a great time with these cuts from my Old West cartridge!!! Thank goodness for 5 x 7 cards!!! Otherwise it all wouldn't have fit!

I used different techniques with Close to Cocoa ink... sponging, burnishing, and marker highlighting.


Your comments are always appreciated!

~*~ ~*~ ~*~ *~ ~*~ ~*~ ~*~ ~*~ ~*~ ~*~ ~*~ ~*~ ~*~ ~*~ ~*~

A Proud member of The Lime Light. Click on over to see what we are doing.

Sunday, May 8, 2011

Mother's Day 2011

Here are samples of 2 cards I cased from the Kitchen Sink Crew.
LOVE how they look like the flowers are lying on a surface....
I made a few variations of these for Mother's Day cards.


Your comments are always appreciated!

~*~ ~*~ ~*~ *~ ~*~ ~*~ ~*~ ~*~ ~*~ ~*~ ~*~ ~*~ ~*~ ~*~ ~*~
A Proud member of The Lime Light. Click on over to see what we are doing.

Saturday, May 7, 2011

One Sheet Wonders - Thank You Cards

We just finished up our state testing this week, and had many volunteers from the community come to help us monitor testing in each of the classrooms. I made these
cards to send as Thank You cards. They gave up part of their day (or in some cases many days) to help us out at the school. These were just a small token to show how grateful we were that they could help us out.

Our principal, the other test coordinator and I each wrote a small note of thanks in the cards, and I delivered them Friday... and have just a few more to deliver this week.


Your comments are always appreciated!

~*~ ~*~ ~*~ *~ ~*~ ~*~ ~*~ ~*~ ~*~ ~*~ ~*~ ~*~ ~*~ ~*~ ~*~
A Proud member of The Lime Light. Click on over to see what we are doing.